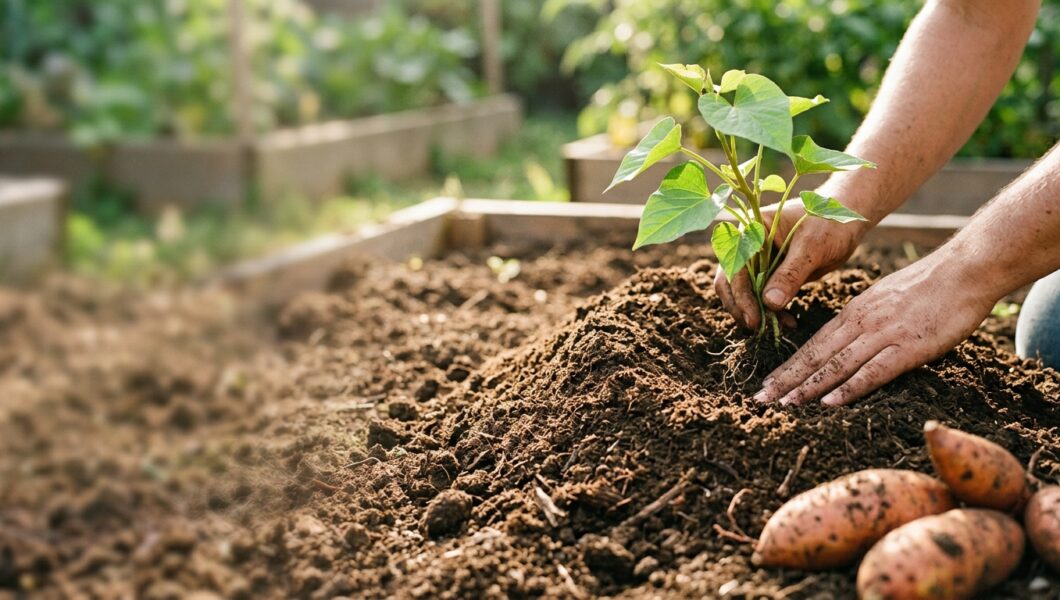
Sweet potatoes are one of the most rewarding crops a beginner can grow. They’re productive, nutritious, and low-maintenance once established. Most varieties need 90 to 120 days from planting to harvest, and a small garden bed or a large container is enough to start. This guide covers every step, from sprouting slips to storing your harvest.
Understanding Sweet Potatoes
Sweet potatoes aren’t grown from seeds or cut pieces of tuber. They’re grown from slips, which are leafy sprouts that grow from a mature sweet potato. Once planted, each slip develops long vines above ground and swollen storage roots (the tubers) below.
Despite the name, they aren’t related to regular potatoes. They’re a warm-season crop that hates cold soil and frost. Good beginner varieties include Beauregard (fast-maturing, orange flesh), Georgia Jet (good for short seasons), and Covington (high-yielding).
When to Plant
Sweet potatoes need warm soil, ideally at least 65°F (18°C), with nighttime temperatures staying above 55°F (13°C). Plant two to three weeks after your last frost date. In cooler regions, choose quick-maturing varieties and consider black plastic mulch to warm the soil. Even a light frost can kill young plants.
What You Need
- Healthy slips (or a sweet potato to grow them from)
- Spade or garden fork
- Compost
- Mulch such as straw
- Watering can or hose
Buying slips is faster and more reliable for beginners. Look for green, sturdy slips from garden centers, farmers’ markets, or reputable online nurseries, and avoid any that look wilted or yellow.
Growing Your Own Slips
Start six to eight weeks before your planting date. Choose a firm, healthy sweet potato, ideally organic, since some grocery store ones are treated to prevent sprouting.
Water method: Push toothpicks into the middle of the sweet potato and suspend the bottom half in a jar of water. Keep it warm and bright, and change the water every few days.
Soil method: Lay the sweet potato on its side in moist soil or sand, partly covered, and keep it damp and warm.
When sprouts reach about 6 inches (15 cm), twist them off and place them in water until roots form. Then they’re ready to plant.
Choosing a Location
Pick a spot with six to eight hours of direct sunlight daily. Space slips 12 to 18 inches (30 to 45 cm) apart in rows about 3 feet apart. Raised beds work well because they drain easily and warm up faster. For containers, use one slip per pot of at least 5 gallons, with drainage holes.
Preparing the Soil
Sweet potatoes prefer loose, well-draining, sandy loam with a slightly acidic pH of 5.5 to 6.5. Heavy clay leads to small, misshapen tubers, so loosen the soil 8 to 12 inches deep and mix in some compost.
Avoid heavy nitrogen fertilizer, which grows leaves at the expense of tubers. Finally, form mounds or ridges about 8 inches high to improve drainage and warm the soil.
Planting the Slips
- Harden off slips by setting them outside for a few hours a day over several days.
- Water the mound before planting.
- Bury the stem up to the top few leaves. Roots form along buried nodes, which is where tubers develop.
- Space them 12 to 18 inches apart.
- Water thoroughly and keep the soil moist for the first week or two.
Slips often wilt for a few days after transplanting, which is normal. Provide light shade in hot weather and cover plants during cold snaps.
Caring for Your Plants
Water regularly while roots establish. After that, aim for about an inch per week, and reduce watering a few weeks before harvest to prevent cracking. Mulch to hold in moisture and suppress weeds, and weed carefully early on, since the vines will eventually shade out most competition.
Fertilizing is usually unnecessary in fertile soil. If you do feed, go light on nitrogen. Avoid constantly lifting the vines, as this can break the roots forming at the nodes.
Common Problems
Pests: Wireworms can tunnel into tubers, so rotate crops and avoid planting where sod recently grew. Weevils are a concern in warm regions, so buy certified clean slips. Voles and other rodents may eat tubers; traps or barriers can help.
Diseases: Rot usually comes from soggy soil. Improve drainage and avoid replanting in the same spot for three to four years.
Poor tuber growth: Too much nitrogen, heavy soil, shade, or cool temperatures are the usual causes.
Harvesting
Most sweet potatoes are ready 90 to 120 days after planting. Yellowing leaves often signal that harvest is near. Harvest before the first frost, using a garden fork and digging about a foot from the plant’s center. The skin bruises easily, so handle the tubers gently. Brush off soil but don’t wash them.
Curing and Storing
Curing turns starchy tubers into sweet ones and heals small wounds so they store longer. Keep them at 80 to 85°F (27 to 29°C) with high humidity for 5 to 10 days.
Then store them in a cool, dark, ventilated spot at 55 to 60°F (13 to 16°C). Avoid the refrigerator, which can cause hard centers. Properly cured sweet potatoes can last several months.
Beginner Mistakes to Avoid
- Planting before the soil is warm
- Using too much nitrogen
- Planting in heavy, compacted soil
- Skipping hardening off
- Digging roughly and bruising tubers
- Skipping the curing step
FAQ
Can I plant a grocery store sweet potato?
Yes, to grow slips. Organic ones sprout more reliably.
Can you grow them in pots?
Yes, in a large container with drainage in full sun.
Can you eat the leaves?
Yes, they’re edible and can be cooked like spinach.
Conclusion
Start with healthy slips, wait for warm weather, plant in loose, sunny soil, and cure your harvest properly. Once established, the plants largely look after themselves. Start small, learn from your first season, and by autumn you could be digging up your own homegrown sweet potatoes.