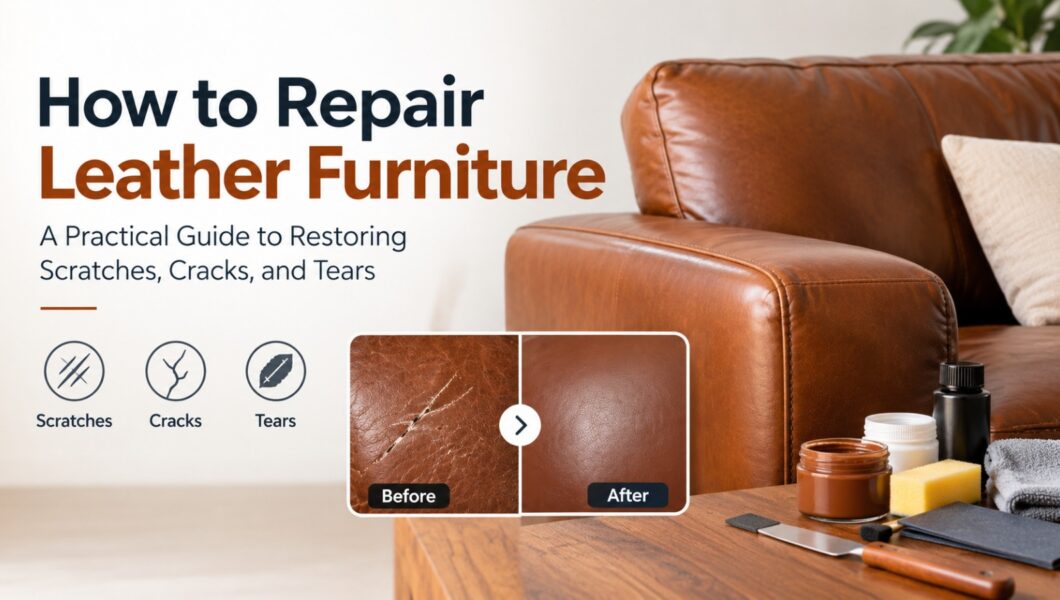
Leather furniture is an investment. It can last decades, and it usually looks better with age when it’s cared for. But even the best sofa picks up scratches from pets, cracks from sun exposure, and tears from daily use. The good news is that most damage can be repaired at home with a few inexpensive supplies and some patience.
Step One: Know Your Leather
The right repair method depends on what kind of leather you have.
- Aniline leather is dyed but has no protective coating. It feels soft and natural, and a drop of water soaks in quickly. It scratches easily but also blends scratches away easily.
- Semi-aniline leather has a light protective coating, offering a balance of natural feel and durability.
- Pigmented (protected) leather is the most common type in furniture. It has a durable colored coating, and water beads on the surface.
- Bonded leather is made of leather scraps bonded to a backing. It tends to peel and flake, and it is the hardest type to repair convincingly.
Check the manufacturer’s tag first. If there isn’t one, test a hidden spot, such as under a cushion, with a drop of water.
Tools and Supplies
Most repairs need a similar set of materials:
- Leather cleaner
- A leather repair kit (filler, colorant, sealer or top coat, sub-patch)
- Fine sandpaper (400 to 600 grit)
- Leather conditioner
- A palette knife or small spatula
- Leather adhesive
- A hairdryer
- Soft cloths and tweezers
Many kits include color-matching guides, and some suppliers will mix a custom color if you send a sample or the furniture’s color code.
Repairing Light Scratches and Scuffs
Surface scratches are the easiest problem to fix.
- Clean the area with leather cleaner and let it dry completely.
- Rub the scratch gently with your fingertip. The warmth and natural oils can help the leather settle back into place.
- Apply a small amount of leather conditioner or balm and buff it in with a soft cloth.
- If the scratch is still visible, dab on a matching colorant with a sponge, let it dry, and repeat if needed.
Fixing Cracks and Peeling
Cracks usually come from dryness, heat, or sun, while peeling is typically the coating breaking down.
- Prepare the surface. Clean the area, trim away loose flakes, and lightly sand the edges so they lie flat.
- Fill the damage. Use a palette knife to apply a thin layer of leather filler. Dry each layer with a hairdryer on low heat before adding another. Several thin layers work better than one thick one.
- Sand smooth. Once the filler is level with the surrounding leather, sand it gently.
- Color. Apply colorant in thin coats, letting each dry. Match the color in natural daylight.
- Seal and condition. Finish with a sealer to protect the repair, and condition the leather once everything has cured.
Repairing Small Cuts and Tears
A clean cut or short tear can be stabilized from behind.
- Trim loose threads and clean the area.
- Slide a sub-patch of canvas or thin leather beneath the tear, using tweezers to lay it flat.
- Apply leather adhesive under both edges of the tear and press them together. Weigh the area down and let it dry fully.
- Fill the seam with filler, then sand, color, and seal as you would for a crack.
For large tears, holes, or damage along seams and stress points, professional repair is usually the better choice.
When to Call a Professional
DIY repair has limits. Consider an upholsterer or leather restoration specialist when:
- A large section is torn, worn through, or missing
- The damage runs along a load-bearing seam
- The piece is antique or high value
- Bonded leather is peeling over a wide area
- The whole piece needs recoloring
Replacing a single cushion cover or panel is often cheaper than replacing the whole piece.
Don’t Forget the Cushions
Sometimes a sofa looks worn because the interior has failed, not the leather. If the seat sags or feels flat, restuffing or replacing the foam or fiber fill can restore its shape. Wrapping new foam in batting helps it fit snugly and keeps the leather smooth.
Tips for Better Results
- Always spot-test products and colors on a hidden area first.
- Work in thin layers. Thick coats look obvious and are more likely to crack.
- Be patient with drying times. Rushing leads to tacky or uneven repairs.
- Match color in daylight, since indoor lighting can be misleading.
Preventing Future Damage
Repairs last longer when the leather stays healthy.
- Dust or vacuum regularly, including the seams.
- Clean spills right away with a barely damp cloth.
- Condition the leather every 6 to 12 months.
- Keep furniture at least a couple of feet from radiators, vents, and fireplaces.
- Avoid direct sunlight, or use curtains or UV-filtering film.
- Trim pet claws and consider throws over favorite lounging spots.
Final Thoughts
Repairing leather furniture is less about skill than about preparation and patience. Clean the surface, build up thin layers, match the color carefully, and protect the finish. With the right approach, a worn sofa can look good for many more years.