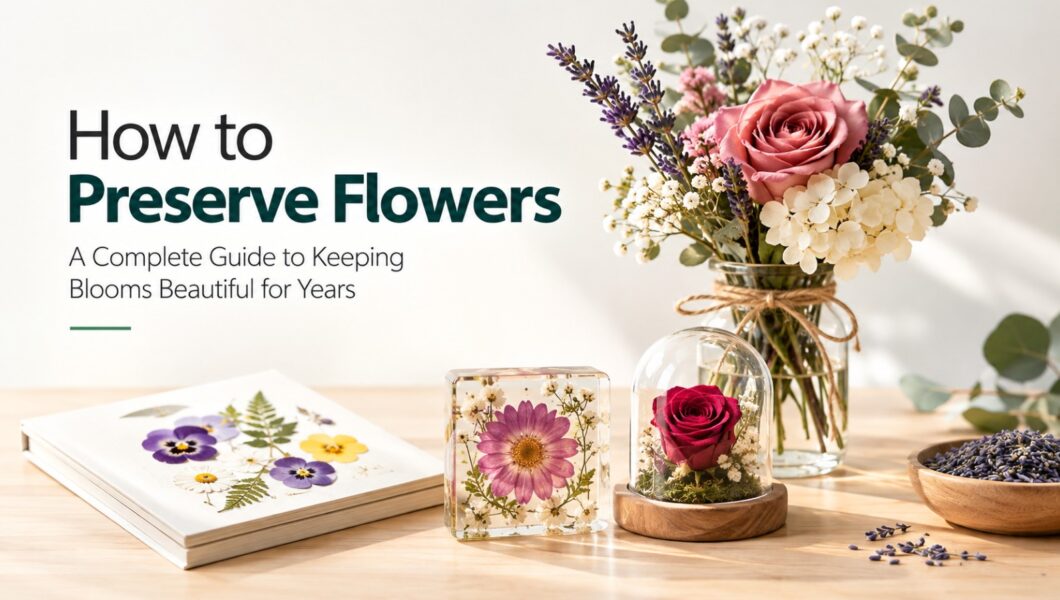
A bouquet from a wedding, a bloom from a garden, a gift from someone special: fresh flowers fade within days, but the memories attached to them don’t have to. Flower preservation is an old craft, and modern techniques make it accessible to anyone. This guide covers the most reliable methods, which flowers suit each one, and how to keep your finished pieces looking their best.
Before You Begin: Choosing and Preparing Your Flowers
The quality of your preserved flowers depends heavily on what you start with.
Pick at the right moment. Choose blooms just before or at full bloom. Flowers past their prime often lose petals or turn brown during drying.
Harvest when dry. Cut flowers in the late morning, after dew has evaporated and before the afternoon heat. Avoid flowers that are wet from rain, since surface moisture invites mold.
Prepare the stems. Trim stems at an angle and strip lower leaves, which retain moisture and slow drying.
Know which flowers preserve well. Some flowers dry beautifully, while others resist the process.
| Preserves well | Challenging |
| Roses, lavender, hydrangeas | Lilies |
| Statice, baby’s breath, celosia | Tulips (petals wilt and darken) |
| Zinnias, daisies, marigolds | Succulents and very fleshy blooms |
| Pansies, violets, ferns (pressing) | Delphinium (fades quickly without silica) |
Method 1: Air Drying
Best for: roses, lavender, hydrangeas, statice, baby’s breath, eucalyptus, wheat and grasses
Air drying is the simplest and most traditional method, requiring almost no equipment.
Steps
- Remove lower leaves and group 5-10 stems into a small bundle. Smaller bundles dry more evenly and resist mold.
- Secure the stems with a rubber band, which tightens as the stems shrink.
- Hang the bundle upside down in a dark, dry, well-ventilated space such as a closet, attic, or pantry.
- Leave for 2-4 weeks. The flowers are ready when the stems snap crisply and the petals feel papery.
Pro tip: Darkness preserves color. Direct sunlight fades pigments quickly, so keep flowers out of bright rooms while they dry.
Result: A rustic, natural look with muted, vintage tones. Flowers may shrink slightly and darken.
Method 2: Pressing
Best for: pansies, violets, ferns, cosmos, small daisies, and delicate foliage
Pressing flattens flowers for use in framed art, greeting cards, bookmarks, and journals.
Steps
- Place flowers face-down between sheets of parchment or blotting paper, spacing them so they don’t touch.
- Put the paper inside a heavy book, or use a dedicated flower press.
- Add extra weight on top and leave undisturbed for 2-4 weeks.
- Open carefully and lift the flowers with tweezers, as pressed petals are fragile.
Pro tip: Thick flowers like roses should be separated into individual petals or sliced in half lengthwise before pressing.
Result: Flat, delicate flowers with softened colors, ideal for two-dimensional projects.
Method 3: Silica Gel Drying
Best for: roses, peonies, zinnias, daisies, dahlias, and other flowers where shape and color matter
Silica gel is a moisture-absorbing crystal that dries flowers quickly while keeping their three-dimensional form and vivid color. Many professionals consider it the best method for high-quality results.
Steps
- Pour about an inch of silica gel into an airtight container.
- Trim the stems to about an inch and set the flowers face-up on the gel.
- Slowly spoon more gel around and between the petals until the bloom is completely covered.
- Seal the container and wait 2-7 days, depending on the thickness of the flower.
- Gently pour off the gel and brush away any residue with a soft paintbrush.
Pro tip: Check thin flowers after two days. Leaving them too long can make them brittle.
Result: Lifelike blooms with excellent color retention, well suited to shadow boxes and arrangements.
Method 4: Microwave Drying
Best for: small to medium flowers when you need results quickly
Microwave drying speeds up the process considerably, though it requires care and a bit of experimentation.
Steps
- Place flowers between paper towels or parchment, inside a microwave-safe press or between ceramic tiles.
- Heat in 30-second bursts, allowing the flowers to cool between rounds.
- Repeat until the flowers feel dry and papery, usually 1-3 minutes in total.
Note: Microwave power varies, and overheating can scorch petals, so start with short intervals and test with a spare flower first.
Result: Well-preserved color in a fraction of the time, with a slightly flatter shape than silica gel.
Method 5: Glycerin Preservation
Best for: eucalyptus, magnolia leaves, ferns, ivy, and other foliage
Instead of drying out plant material, glycerin replaces its moisture, keeping leaves soft, flexible, and long-lasting.
Steps
- Mix one part vegetable glycerin with two parts hot water.
- Crush or split the bottom inch of each stem so it absorbs the solution.
- Stand the stems in the mixture for 1-2 weeks, until the leaves change color and feel supple.
- Wipe off any beads of glycerin that appear on the surface.
Result: Soft, natural-feeling greenery that won’t crumble, though colors shift toward deeper browns and greens.
Method 6: Resin Casting
Best for: creating permanent keepsakes such as jewelry, coasters, paperweights, and ornaments
Resin encases flowers in a clear, durable material, protecting them completely. However, flowers must be fully dried first (using silica gel or air drying), because any remaining moisture will cloud the resin or cause discoloration.
Steps
- Dry the flowers completely.
- Mix two-part epoxy resin according to the manufacturer’s instructions.
- Pour a thin base layer into a mold and let it partially cure.
- Arrange the flowers, then pour a second layer to cover them.
- Allow the piece to cure fully, typically 24-72 hours.
Safety note: Work in a ventilated area and wear gloves, as uncured resin can irritate skin.
Choosing the Right Method at a Glance
| Goal | Recommended method |
| Rustic bouquet or wreath | Air drying |
| Framed art, cards, bookmarks | Pressing |
| Wedding bouquet with lifelike shape | Silica gel |
| Quick project | Microwave |
| Soft greenery | Glycerin |
| Jewelry or keepsakes | Resin (after drying) |
Caring for Your Preserved Flowers
Preservation isn’t the end of the process. Proper care keeps flowers looking good for years.
- Avoid direct sunlight. UV light is the main cause of fading.
- Control humidity. Moisture leads to mold and softening, so avoid bathrooms and damp rooms.
- Seal lightly. A light coat of unscented hairspray or clear acrylic sealant reduces shedding and adds some protection.
- Dust gently. Use a soft brush or a hair dryer on the cool, low setting.
- Use protective display. Glass domes, shadow boxes, and frames extend lifespan dramatically.
Common Mistakes to Avoid
- Using wet or overripe flowers. They tend to rot rather than dry.
- Drying in humid spaces. Poor airflow encourages mold.
- Overcrowding. Flowers need space for air (or gel) to circulate.
- Handling too roughly. Dried petals are brittle, so move them slowly and with care.
- Rushing the process. Flowers that seem dry on the outside may still hold moisture inside.
Conclusion
Preserving flowers is a rewarding blend of patience and craftsmanship. Air drying and pressing suit beginners, silica gel delivers professional-quality results, and glycerin and resin open up creative possibilities. Whichever method you choose, starting with fresh, healthy blooms and giving them time to dry properly makes the biggest difference.
With the right technique, a single bouquet can become a lasting keepsake to display, gift, or treasure for years to come.